我们将构建什么
许多 LLM(包括 Claude)目前没有获取天气预报和严重天气警报的能力。让我们使用 MCP 来解决这个问题! 我们将构建一个服务器,公开两个工具:get-alerts 和 get-forecast。然后我们将服务器连接到 MCP 主机(在本例中为 Claude for Desktop):
为什么选择 Claude for Desktop 而不是 Claude.ai?
为什么选择 Claude for Desktop 而不是 Claude.ai?
因为服务器是本地运行的,MCP 目前仅支持桌面主机。远程主机正在积极开发中。
核心 MCP 概念
MCP 服务器可以提供三种主要类型的功能:- 资源:客户端可以读取的类似文件的数据(如 API 响应或文件内容)
- 工具:LLM 可以调用的函数(需要用户批准)
- 提示词:帮助用户完成特定任务的预编写模板
- Python
- Node
- Java
让我们开始构建我们的天气服务器!您可以在此处找到我们将构建的完整代码。确保之后重新启动您的终端以确保 现在让我们深入构建您的服务器。FastMCP 类使用 Python 类型提示和文档字符串自动生成工具定义,使创建和维护 MCP 工具变得容易。您的服务器已完成!运行 首先,确保您已安装 Claude for Desktop。您可以在此处安装最新版本。如果您已经有 Claude for Desktop,请确保它已更新到最新版本。我们需要为您想要使用的 MCP 服务器配置 Claude for Desktop。为此,请在文本编辑器中打开位于 然后,您将在 这告诉 Claude for Desktop:
先决知识
本快速入门假设您熟悉:- Python
- 像 Claude 这样的 LLM
系统要求
- 安装了 Python 3.10 或更高版本。
- 必须使用 Python MCP SDK 1.2.0 或更高版本。
设置您的环境
首先,让我们安装uv 并设置我们的 Python 项目和环境:uv 命令被识别。现在,让我们创建并设置我们的项目:构建您的服务器
导入包并设置实例
将这些添加到您的weather.py 顶部:辅助函数
接下来,让我们添加用于查询和格式化来自国家气象局 API 的数据的辅助函数:实现工具执行
工具执行处理程序负责实际执行每个工具的逻辑。让我们添加它:运行服务器
最后,让我们初始化并运行服务器:uv run weather.py 以确认一切正常。现在让我们从现有的 MCP 主机 Claude for Desktop 测试您的服务器。使用 Claude for Desktop 测试您的服务器
Claude for Desktop 尚不支持 Linux。Linux 用户可以继续进行构建客户端教程,以构建连接到我们刚刚构建的服务器的 MCP 客户端。
~/Library/Application Support/Claude/claude_desktop_config.json 的 Claude for Desktop 应用配置。如果文件不存在,请确保创建它。例如,如果您安装了 VS Code:- MacOS/Linux
- Windows
mcpServers 键中添加您的服务器。只有至少一个服务器正确配置时,Claude for Desktop 中的 MCP UI 元素才会显示。在本例中,我们将添加我们的单一天气服务器,如下所示:- MacOS/Linux
- Windows
Python
确保传入服务器的绝对路径。
- 存在一个名为 “weather” 的 MCP 服务器
- 通过运行
uv --directory /ABSOLUTE/PATH/TO/PARENT/FOLDER/weather run weather启动它
使用命令测试
让我们确保 Claude for Desktop 正在获取我们在weather 服务器中公开的两个工具。您可以通过查看锤子 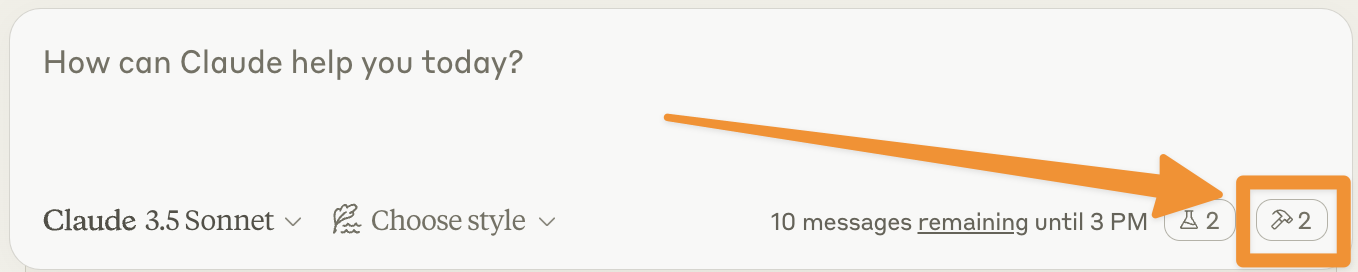

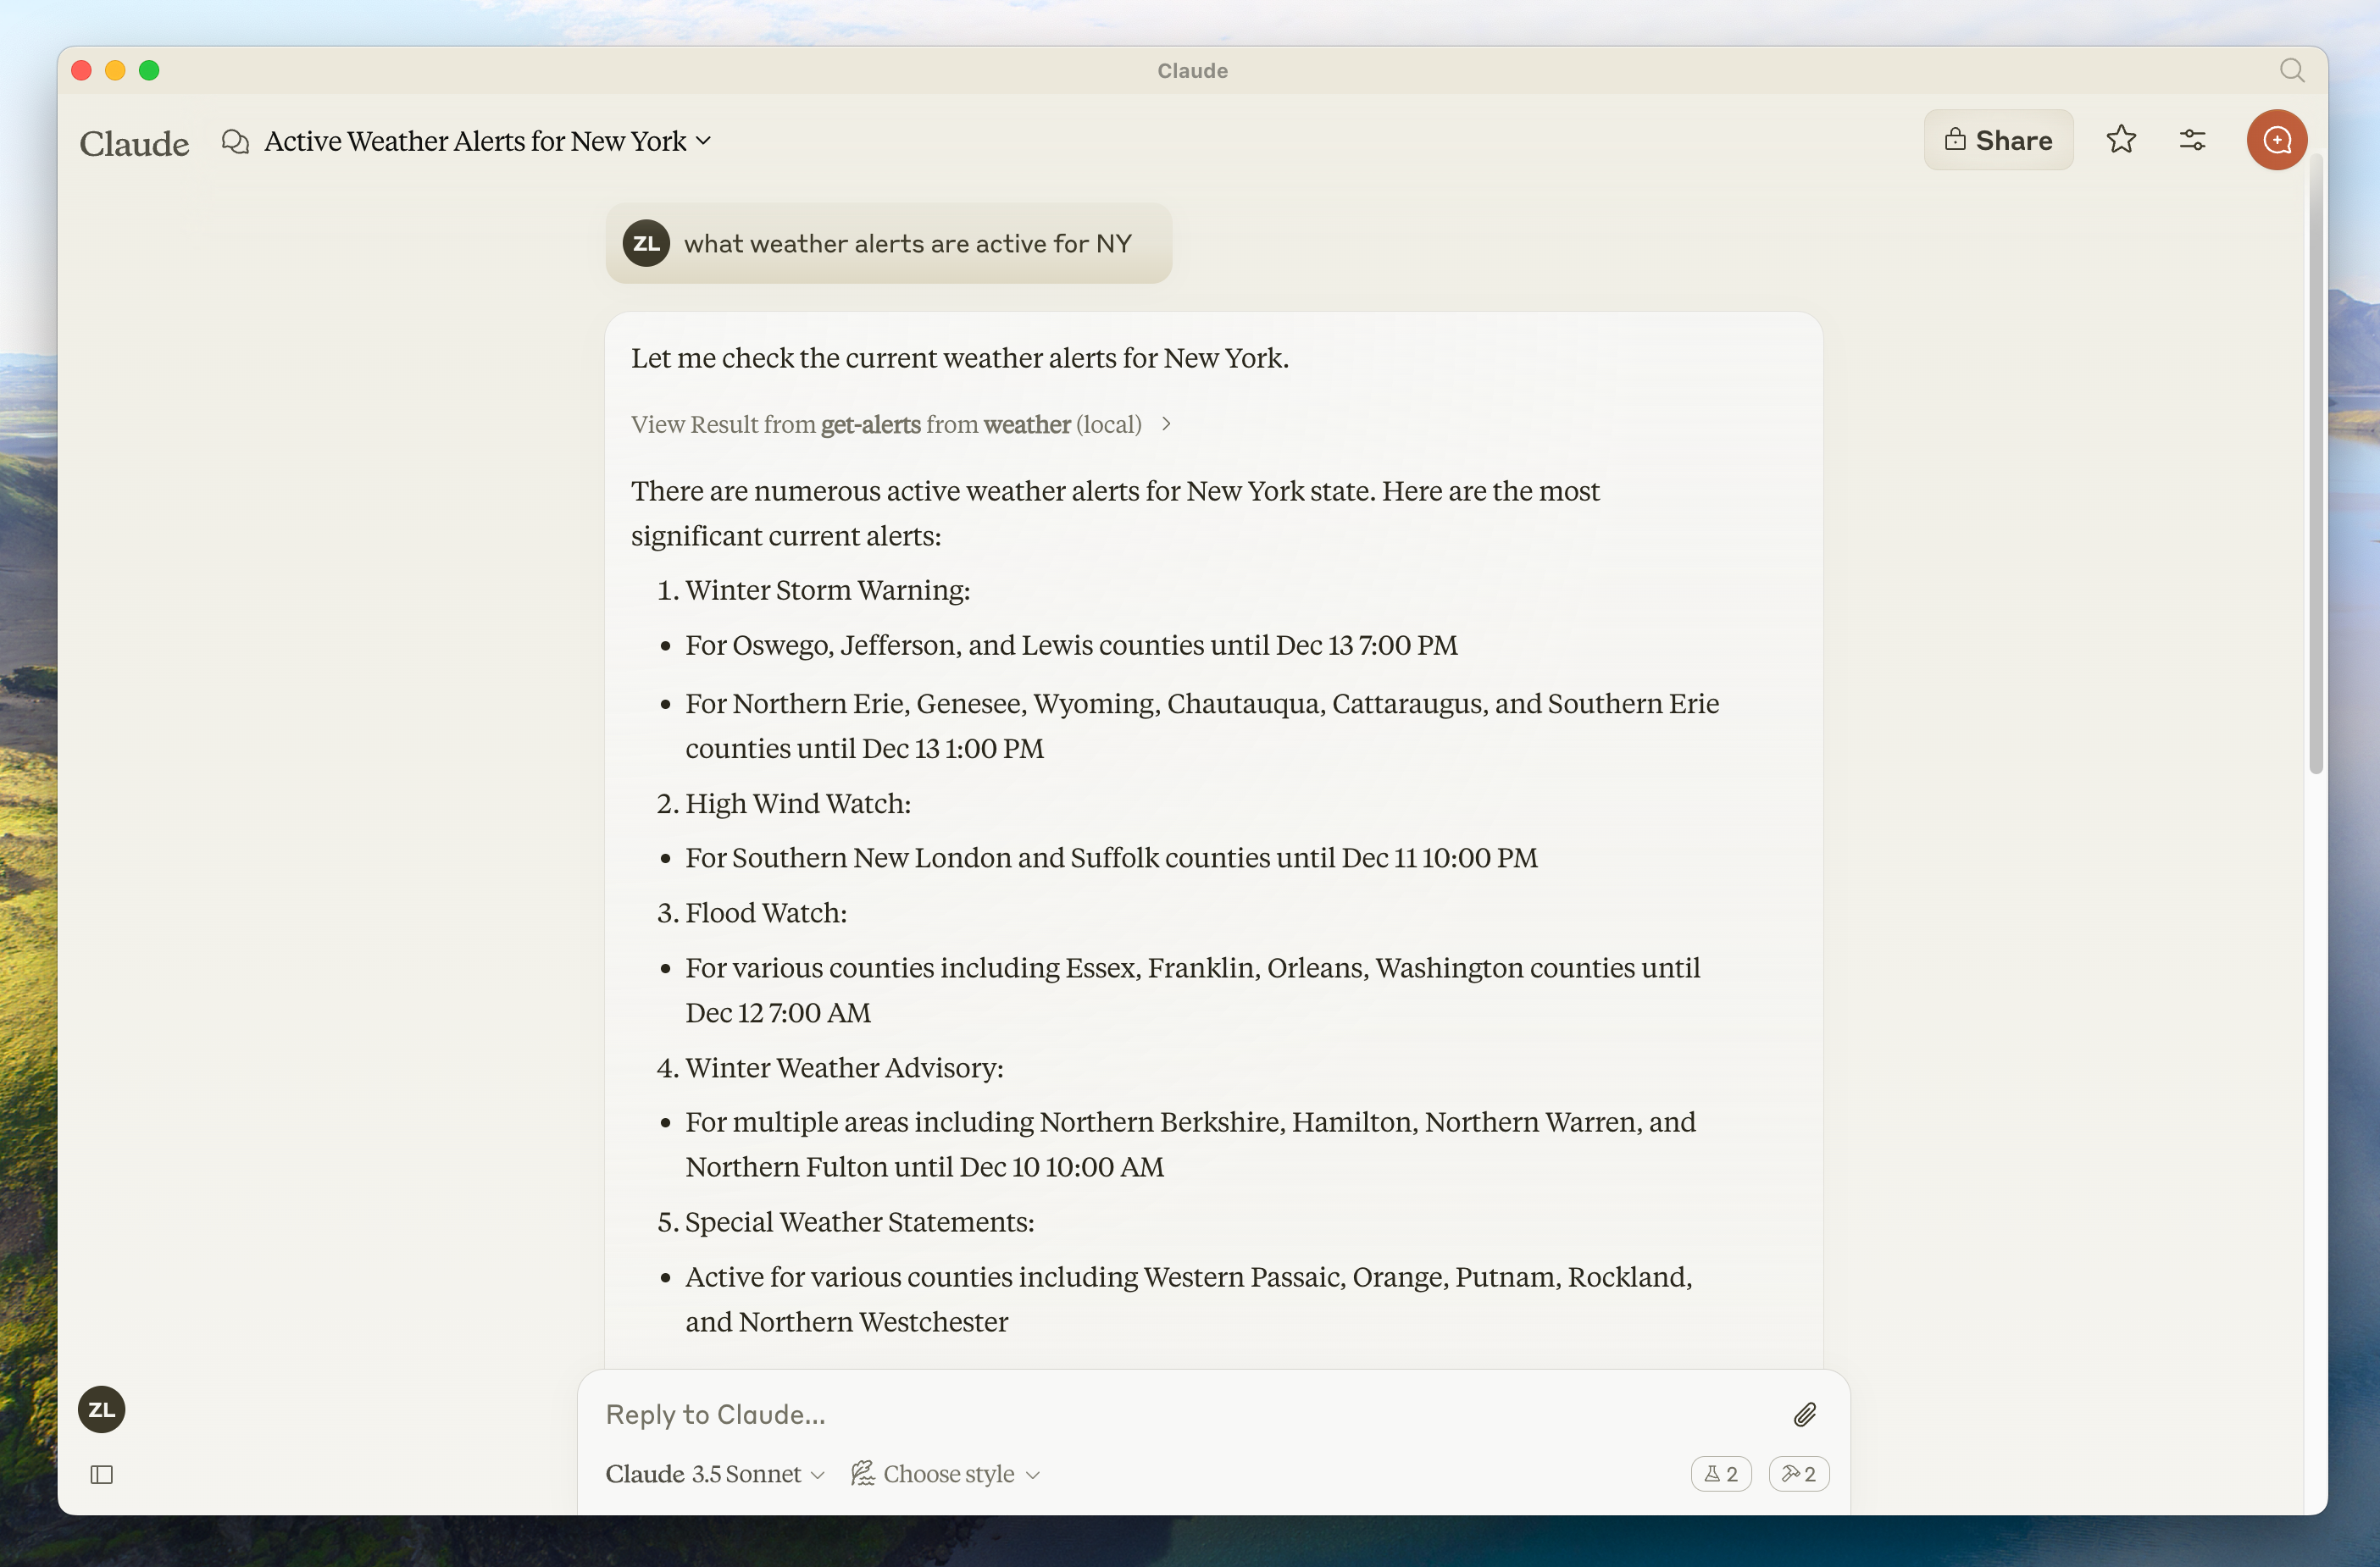
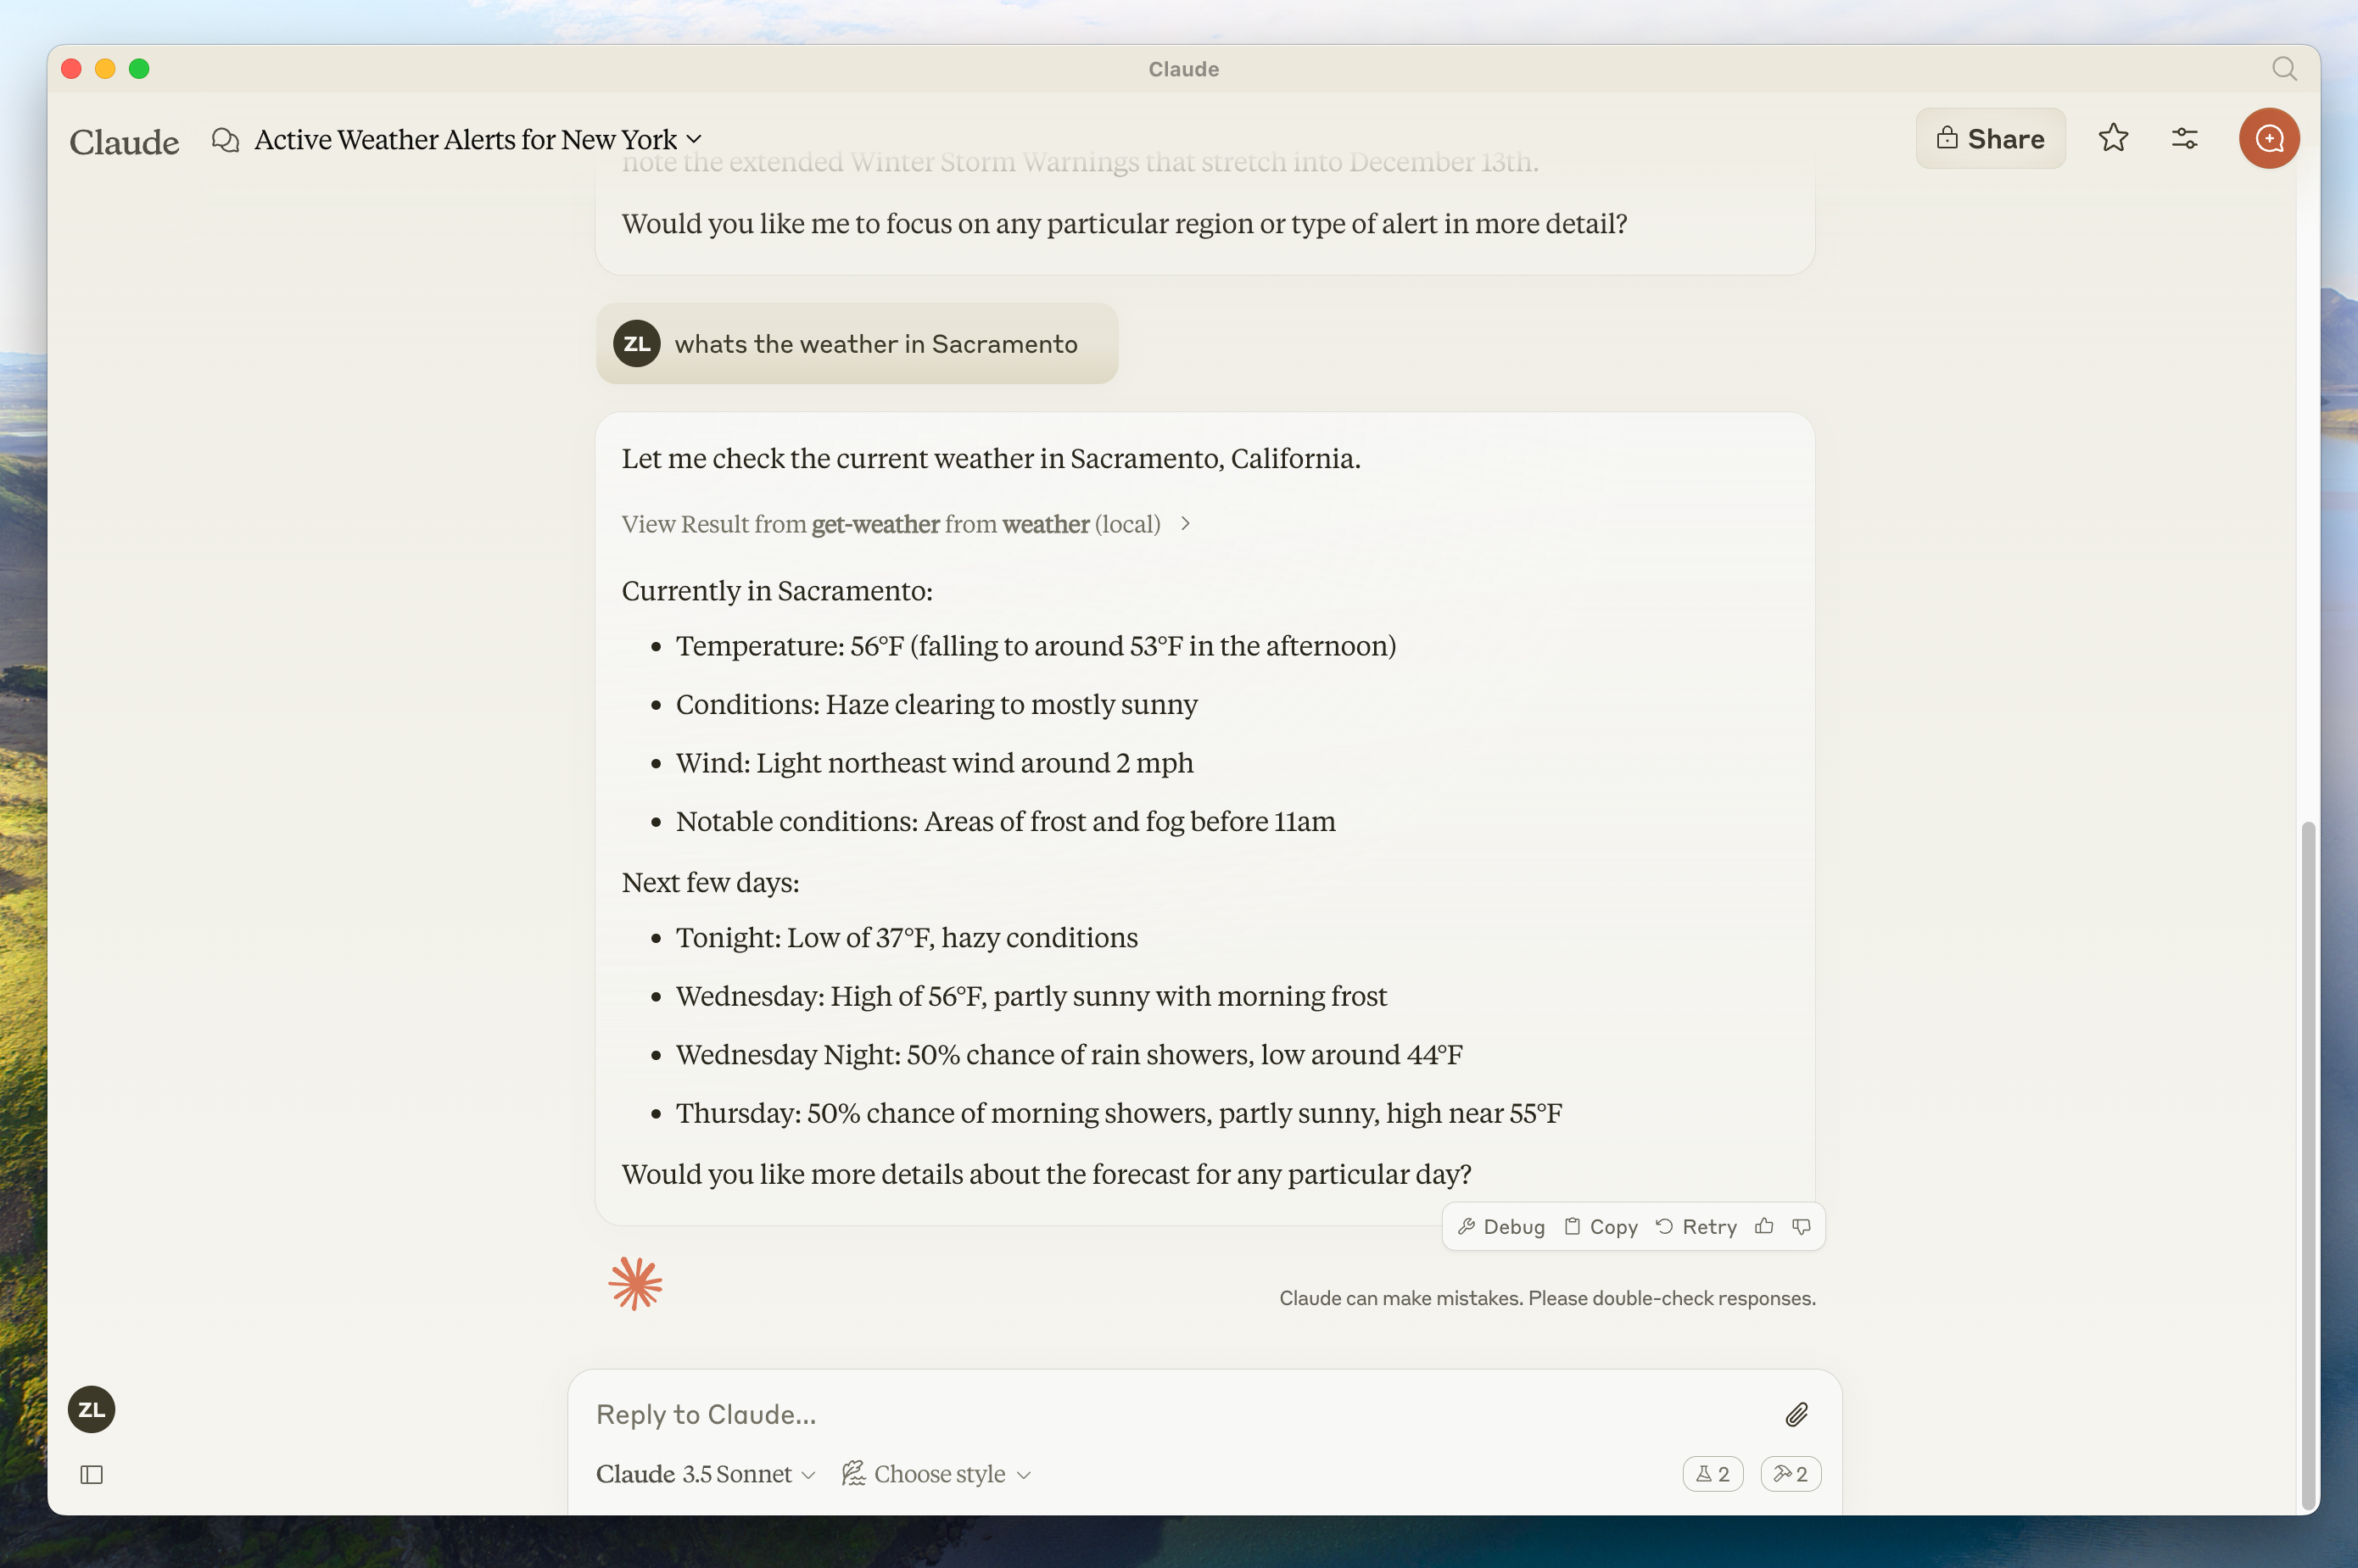
- 请问萨克拉门托的天气如何?
- 德克萨斯州有哪些活动天气警报?
由于这是美国国家气象局,因此仅当您在美国时,查询才会起作用。
什么正在发生
当您提出问题时:- 客户端将您的问题发送给 Claude
- Claude 分析可用的工具并决定使用哪一个(或多个)
- 客户端通过 MCP 服务器执行选定的工具
- 结果发送回 Claude
- Claude 制定自然语言响应
- 响应显示给您!
故障排除
Claude for Desktop 集成问题
Claude for Desktop 集成问题
获取 Claude for Desktop 日志Claude.app 日志与 MCP 相关,写入位于 服务器未在 Claude 中显示
~/Library/Logs/Claude 的日志文件:mcp.log将包含有关 MCP 连接和连接失败的通用日志。- 名为
mcp-server-SERVERNAME.log的文件将包含命名服务器的错误(stderr)日志。
- 检查您的
claude_desktop_config.json文件语法 - 确保项目路径是绝对路径而不是相对路径
- 完全重新启动 Claude for Desktop
- 检查 Claude 的日志以获取错误
- 验证您的服务器在没有错误的情况下构建和运行
- 尝试重新启动 Claude for Desktop
天气 API 问题
天气 API 问题
错误:无法检索网格点数据这通常意味着:
- 坐标位于美国以外
- NWS API 有问题
- 您被限制了速率
- 验证您使用的是美国坐标
- 在请求之间添加小延迟
- 检查 NWS API 状态页面
有关更高级的故障排除,请参阅我们的调试 MCP 指南